Category: Home Improvement

  • The Complete Fall Home Maintenance Checklist: 20 Tasks Before Winter Hits

    The Complete Fall Home Maintenance Checklist: 20 Tasks Before Winter Hits

    Fall is the home-maintenance deadline of the year. Every job on this list is cheaper in October than in January — and the first hard freeze typically lands between late October and mid-November. Treat fall as a countdown: what you don’t handle now becomes an emergency later.
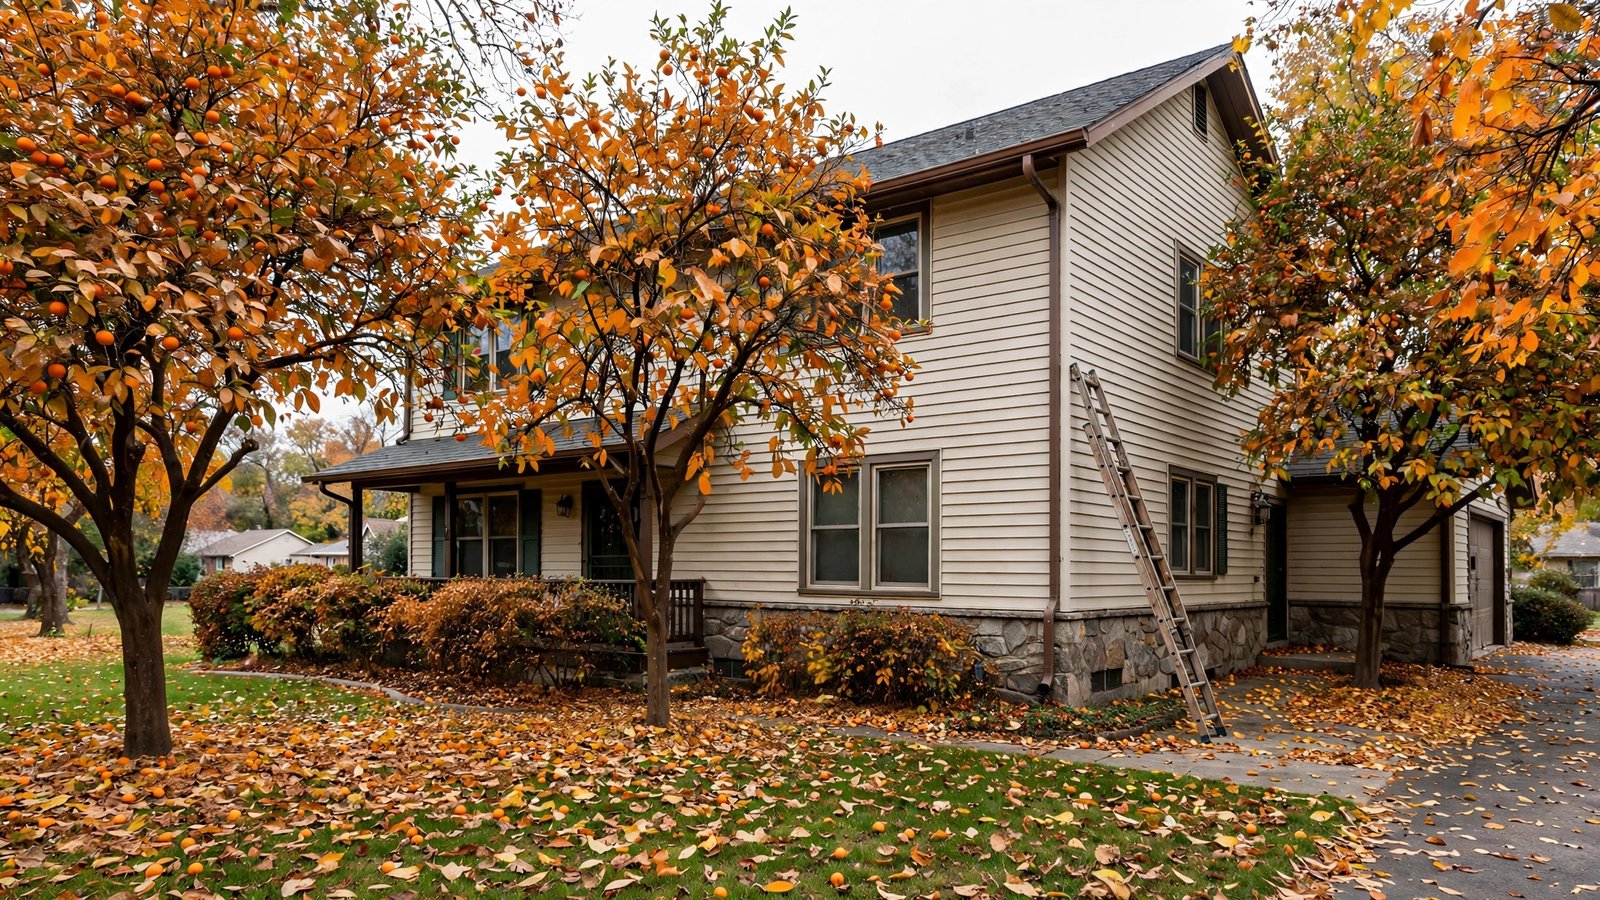
    Suburban house in autumn with orange trees, a ladder against the house, and fallen leaves on the lawn

    Exterior: stop water before it stops you

    1. Clean the gutters and downspouts. Clogged gutters become ice dams — water backs up under shingles and into the attic. Clean before the first freeze; downspouts 5+ feet from the foundation (DOE). DIY.
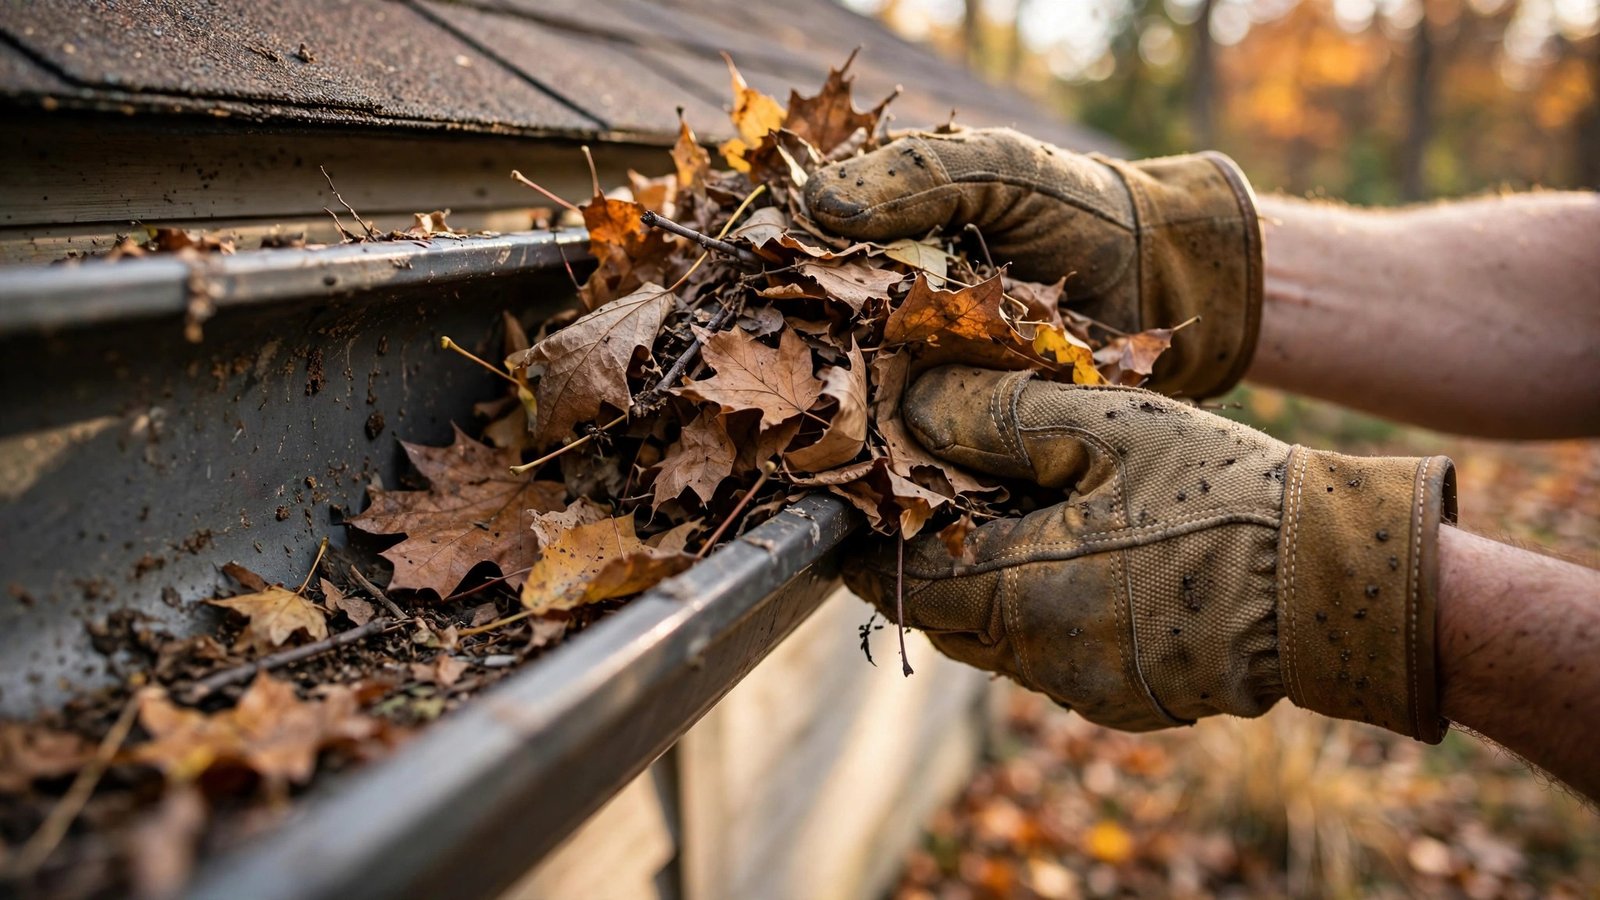
    Gloved hands scooping dry autumn leaves out of a house gutter

    2. Inspect the roof from the ground. Look for missing, curling, or cracked shingles and any sagging along the ridgeline. Roofers book up once the cold hits — schedule an inspection now if anything looks off. DIY to check; pro to repair.

    3. Peek into the attic after a rain. Water stains under the roof deck or on the insulation mean active or recent leaks. Also make sure stored boxes aren’t blocking vents. DIY.

    4. Seal gaps around windows and doors. Feel for drafts around every exterior frame. Caulk seals frame-to-wall gaps; weatherstripping or a door sweep handles doors — and it pays off in lower heating bills all winter. DIY.

    5. Winterize outdoor water. Disconnect and drain hoses, shut off the indoor valve to outdoor faucets if you have one, then open the outdoor tap to drain the rest. For irrigation, follow the manufacturer’s steps or call the service. Mostly DIY; pro for irrigation.

    6. Trim trees and shrubs. Cut back branches touching the roof, siding, or power lines — ice makes them heavy enough to snap. DIY for small branches; arborist for large limbs or anything near power lines.

    7. Do the final lawn work and mulch the beds. One last mow, rake up the leaves (wet mats smother grass and invite mold), and spread fresh mulch to insulate roots through freeze-thaw cycles. DIY.

    8. Prep for snow before you need it. Seal cracks in walkways and driveways now — freezing water widens them. Stock up on ice melt and confirm the shovel and snowblower work. DIY.

    9. Check the foundation and siding. Walk the perimeter for widening foundation cracks and loose, cracked, or rotting siding. Seal small cracks with masonry caulk; get a pro’s eyes on anything wide or growing. DIY to check; pro if serious.

    Heating & safety: don’t meet winter with a cold furnace

    10. Replace the furnace/HVAC filter. A dirty filter chokes airflow and makes the furnace work harder. ENERGY STAR: check monthly in heavy-use seasons, replace at least every three months. Keep a spare on hand. DIY.
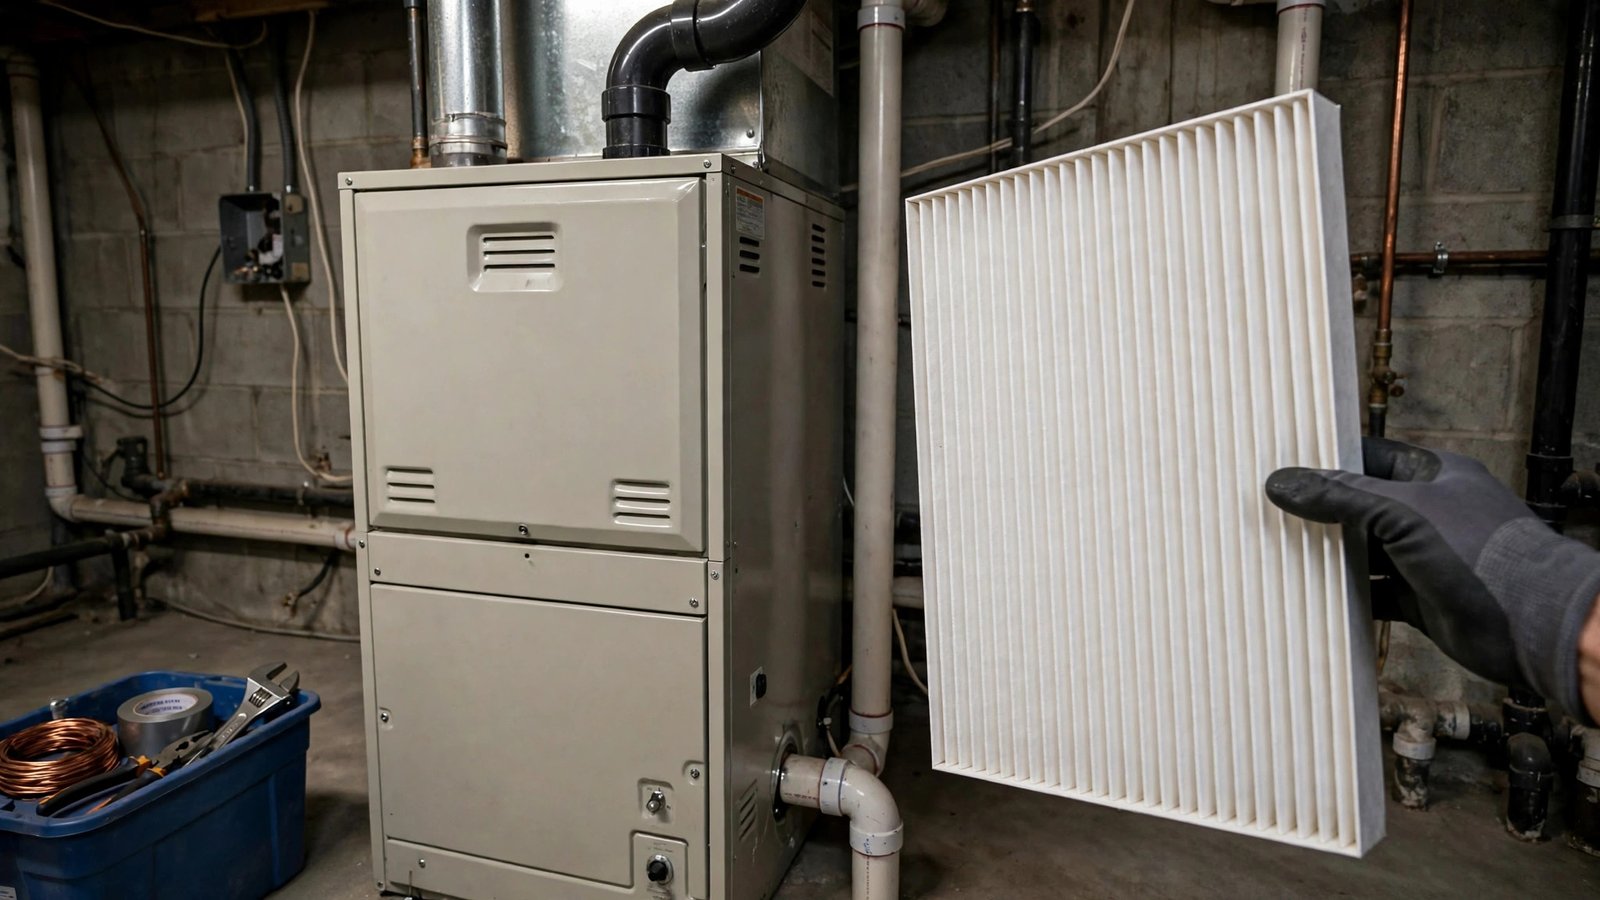
    Home furnace with a gloved hand holding a new pleated air filter beside it

    11. Schedule a heating tune-up. Book a professional visit before the first cold snap, while technicians still have open slots. A tech checks the burner, heat exchanger, and ignition, catching small problems early. Pro — strongly recommended.

    12. Flip ceiling fans to winter mode. Find the direction switch on the motor housing and set blades to spin clockwise (viewed from below) on low — this pushes warm air at the ceiling back down without a draft. DIY.

    13. Test smoke and carbon monoxide alarms. Press every test button and replace batteries unless the unit has a sealed 10-year battery. Replace smoke alarms about every 10 years (check the date on the back). CO alarms belong on every level and outside sleeping areas. DIY.

    14. Clean the dryer vent to the outside. Lint buildup is a fire hazard — the NFPA identifies failure to clean as the leading cause of home dryer fires. Disconnect the vent hose, clear it, and check the exterior cap. DIY for the hose; pro if the run is long.

    15. Have the chimney inspected and swept. If you burn wood, get an inspection before the first fire — creosote buildup is a chimney-fire risk. Keep the damper closed whenever the fireplace isn’t in use. Pro for inspection/sweeping.

    Plumbing: freeze protection beats repairs

    16. Insulate exposed pipes in cold zones. Pipes in garages, crawl spaces, and attics are the ones that freeze and burst. Foam insulation sleeves slide on in seconds — some of the cheapest insurance a homeowner can buy. DIY.

    17. Flush the water heater once a year. Sediment at the tank bottom makes the heater work harder and shortens its life. Attach a hose to the drain valve and drain a few gallons until the water runs clear. Past about 10 years old, budget for a replacement. DIY if comfortable; plumber if not.

    18. Know where your main water shutoff is. In a burst-pipe emergency, knowing its location — and that it actually turns — is the difference between a mop-up and a flooded basement. Find it, test it gently, and make sure everyone knows. DIY, free.

    Interior: dial in comfort and efficiency

    19. Set the thermostat for winter. DOE: around 68°F while you’re awake and home, set back 7 to 10 degrees for about eight hours a day — up to 10 percent a year saved on heating and cooling. A programmable thermostat automates it. (Heat-pump owners: check with your HVAC tech first.) DIY.

    20. Check the garage door and locks. Weatherstrip the garage door and verify it seals at the bottom — a leaky attached garage pours cold air into the shared wall. Test all exterior locks and window latches while you’re at it. DIY.

    Bottom line

    None of these 20 tasks is dramatic on its own — that’s the point. Fall maintenance is about stacking small, cheap wins before winter turns them into emergencies. Do the exterior jobs on the next dry weekend, book the pros while they still have openings, and you’ll spend the cold months warm, dry, and un-surprised.
  • Why Your Home Feels Cold Even With the Heat On: 9 Hidden Heat Leaks

    Why Your Home Feels Cold Even With the Heat On: 9 Hidden Heat Leaks

    October is when heating systems fire up across the northern US and Europe — and when many of us find the house never quite feels warm. ENERGY STAR says the cracks and holes in a typical home can add up to as much air loss as an open window, wasting over 20 percent of heating energy. Most leaks are cheap afternoon fixes. Here are the nine most common.

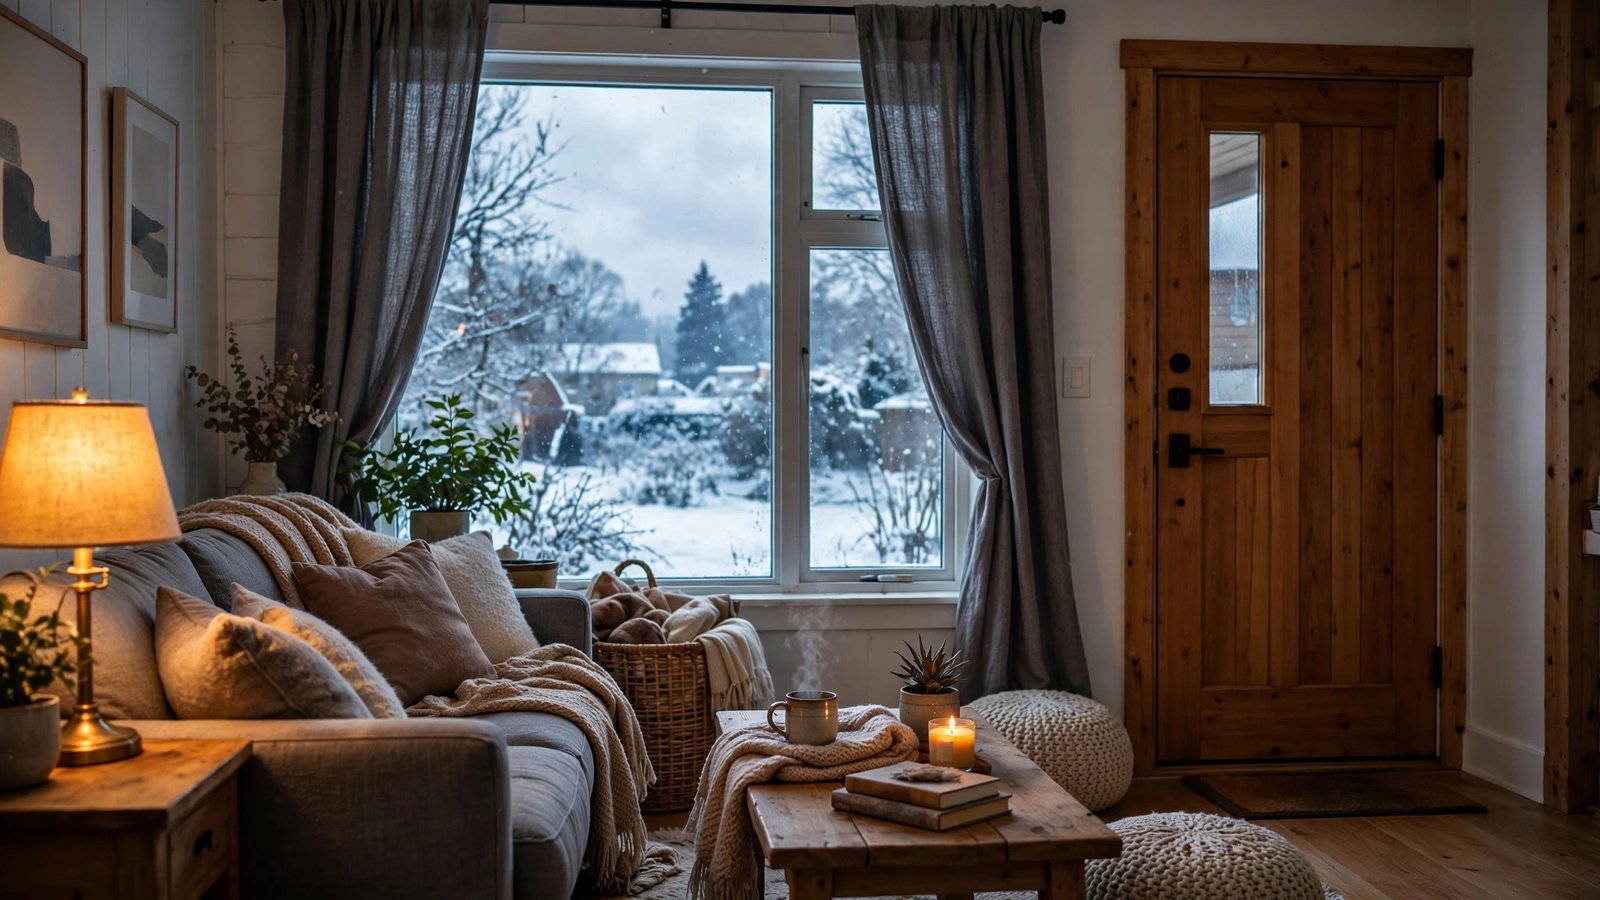
    Cozy living room with warm lamp light and a snowy view through a large window beside a wooden front door

    1–2. Doors and windows that don’t seal

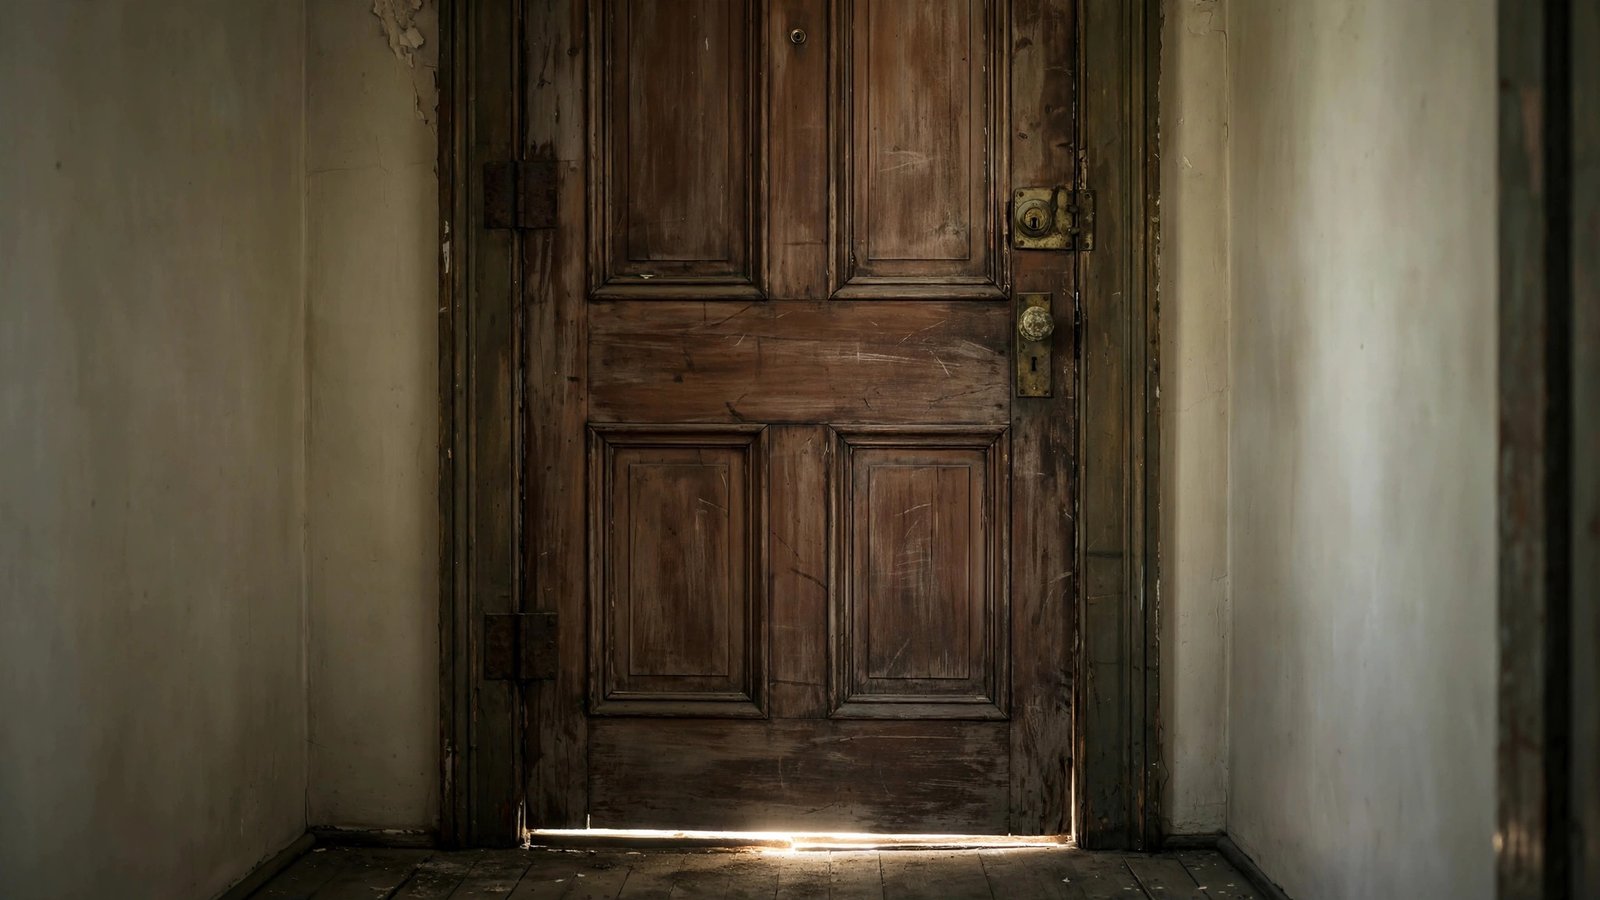
    On a windy day, feel along each exterior door for a thin ribbon of cold air. Daylight around a closed door, or one that rattles in its frame, means the seal is gone. Foam or V-strip weatherstripping plus a door sweep costs a few dollars per door and takes about 20 minutes.

    Windows get blamed for every draft, but the seal around them is usually the real culprit. Try the tissue test: hold a tissue near the frame and watch for fluttering. A tube of caulk (a few dollars) seals gaps where the frame meets the wall; rope caulk handles sash gaps and peels off in spring. Clear window-film kits add a real extra layer over single-pane glass, and heavy curtains closed at dusk cut the cold radiating off it.

    Daylight gap visible under an older wooden front door where warm air escapes

    3–4. A thinly insulated attic — with a leaky hatch

    Heat rises, so the attic is where heat loss hits hardest. If you can see ceiling joist tops through the insulation, or the coverage is patchy and compressed, it’s too thin — adding insulation is one of the highest-return energy projects there is. Seal air leaks in the attic floor first, or you’ll bury the problem. The attic hatch or pull-down stairs is often just a bare panel opening into a freezing attic; a DIY hatch cover kit (an insulated, weatherstripped box) fixes it in an afternoon.

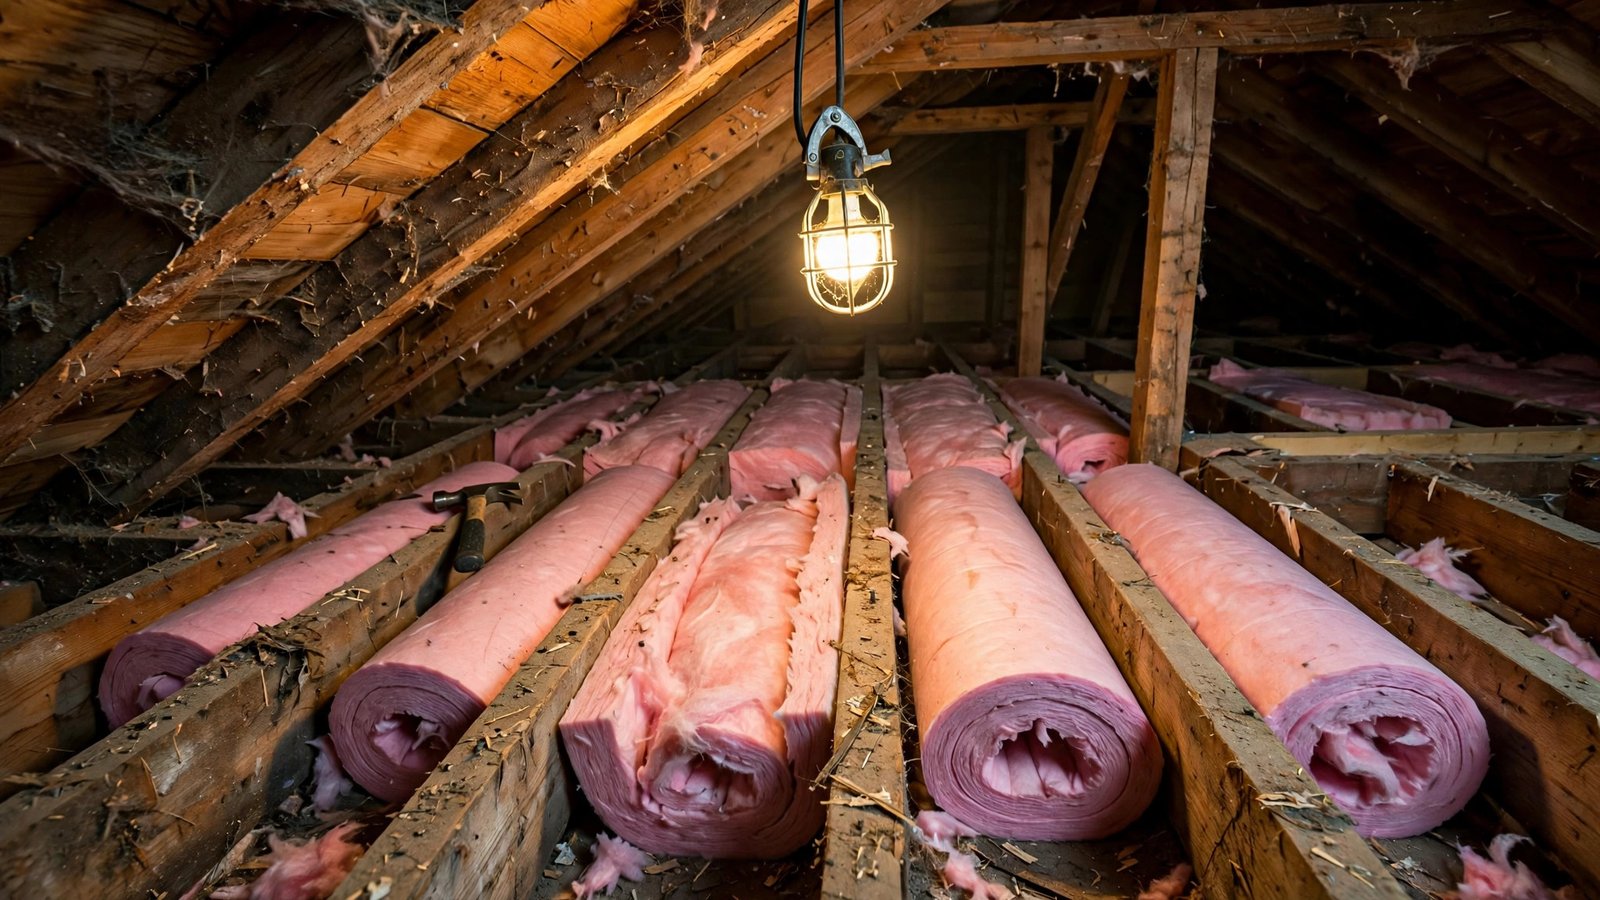
    Attic with pink fiberglass insulation rolls between wooden ceiling joists

    5. The fireplace damper you forgot to close

    A fireplace is built to carry heat up and out — and an open damper does exactly that, 24 hours a day, with no fire lit. The US Department of Housing and Urban Development notes that an open flue creates an upward draft pulling large quantities of heated air out of the room. If the damper is still open and the fireplace hasn’t been used since last winter, you’ve been heating the sky. Close it after every fire once the ashes are fully cool; an inflatable chimney draft stopper plugs a never-used flue and removes easily.

    6. Hidden penetrations: recessed lights, outlets, pipe gaps

    In many homes, the worst air leaks aren’t windows and doors at all, says the DOE — they’re the small holes where plumbing, wiring, and ducts pass through walls and ceilings. Recessed lights, exterior-wall outlets, the gap around the pipe under the sink: each leaks a little, and together they leak a lot.

    Foam gaskets slip behind outlet and switch cover plates in about five minutes each. Seal gaps around pipes and wiring with foam or caulk — but check that anything used near recessed lights is rated for it, since older can lights run hot.

    7. Leaky ducts in unheated spaces

    Ducts running through attics, crawl spaces, or garages leak at their joints, and the DOE warns you can lose a substantial share of heated air before it reaches the register when ducts aren’t sealed and insulated in unheated areas. Suspect this if some rooms never quite warm up, or you can see separated joints on exposed ductwork. Seal small joints with mastic sealant or foil tape — not ordinary duct tape, which dries out on hot ducts — and insulate ducts in unconditioned spaces. Extensive or hard-to-reach ductwork deserves a professional visit.

    8–9. Cold floors — and thermostat and vent mistakes

    Rooms over unheated spaces (a garage, crawl space, enclosed porch) feel cold even when the thermostat reads fine. Insulating the floor’s underside between joists and sealing the rim joists handles most of it; area rugs genuinely change how a room feels.

    Sometimes the problem is the controls. A thermostat on an exterior wall, in direct sun, above a register, or in a drafty hallway heats based on a wrong reading. Furniture against radiators or over vents pours heat into the back of a sofa instead of the room. The DOE recommends around 68°F while you’re awake, set back 7 to 10 degrees for about eight hours a day — up to 10 percent a year saved on heating and cooling. Then walk every room: move furniture off radiators, vacuum registers, and leave vents open.

    The 30-minute draft hunt

    Run through these in half an hour on a windy day:

    • Drafts around exterior doors
    • Tissue test along window frames
    • Attic insulation thin or patchy? Joists showing?
    • Attic hatch insulated and sealed?
    • Chimney damper closed?
    • Cold outlets or switch plates on exterior walls
    • Pipe gaps under sinks and behind the dishwasher
    • Weak airflow at far registers? Separated duct joints?
    • Thermostat on an interior wall, out of sun and drafts?
    • Furniture or curtains blocking vents, registers, or radiators?

    Bottom line

    A cold house with the heat running is almost never just bad luck — it’s air you paid to heat slipping through unseen gaps. Start with the cheapest wins (doors, caulk, outlet gaskets, the chimney damper), then tackle attic insulation and duct sealing. Fix enough of these nine leaks and the same thermostat setting feels like a different house — with a smaller bill to match.

  • 15 Halloween Porch Decor Ideas Under $30 That Look Expensive

    15 Halloween Porch Decor Ideas Under $30 That Look Expensive

    Halloween is October 31, which means porch season is officially on. You don’t need a haunted-mansion budget to make your entryway the one kids photograph. Every idea below is genuinely doable for under $30 using craft-store finds, dollar-store basics, and things you might already own. The secret of “expensive-looking” Halloween decor isn’t money — it’s repetition and lighting.

    House front porch decorated for Halloween at dusk with glowing pumpkins, string lights, hay bales, and a wreath on the door

    Lighting: the cheapest way to look expensive

    Lighting is what separates a sad doorstep from a showstopper. Almost all of it is cheap.

    1. LED tea lights in mason jars — Cluster half a dozen mason jars (you probably own some) with LED tea lights inside along your steps. The flickering glow through glass reads as lantern light. LED tea lights are typically a few dollars for a multi-pack at craft stores.

    2. String lights with black shades — Warm-white string lights are a fall staple; for Halloween, clip small black paper cups over the bulbs to dim and tint the glow. Instantly moody, and the whole project costs well under $15.

    3. Uplight your pumpkins — Point a small battery-operated LED puck light up at each carved pumpkin from behind. The glow bleeding around them looks theatrical and hides how simple the carving actually is.

    4. A single colored bulb — Swap your porch bulb for an orange or purple one. One bulb, a few dollars, and the entire porch changes character.

    Four glowing carved jack-o'-lantern pumpkins lined up on wooden porch steps at dusk

    Pumpkins: more than just carving

    5. Painted pumpkin pyramid — Fake carvable pumpkins in white, black, and orange stacked in a corner planter read as “designer” for a fraction of the cost of mums. Craft stores stock them every fall, typically under $30 for several.

    6. No-carve chalkboard pumpkins — Paint a real or foam pumpkin with chalkboard paint and let the kids draw a new spooky face every night. One bottle of chalkboard paint covers a whole pumpkin patch’s worth.

    7. Pumpkin lanterns with stencils — Skip freehand carving. Print a simple bat, moon, or witch silhouette, tape it on, and trace with a marker before cutting. Clean shapes look far more polished than wobbly freehand attempts.

    8. Mini-pumpkin garland — String small decorative gourds along porch railings with twine. Gourds are cheap in bulk at farm stands and grocery stores in October.

    Door and entry: first impressions

    9. DIY grapevine wreath — A plain grapevine wreath base from a craft store (typically under $10) becomes a Halloween wreath with black spray paint, a few plastic spiders, and a scrap of ribbon. Hang it with a wreath hanger — no nails in the door.

    10. The layered mat trick — Layer a Halloween doormat over a larger plaid or burlap outdoor rug. The layered look is the oldest designer trick in the book, and both layers together usually land under $30.

    11. Black window/door curtains — A couple of yards of cheap black fabric or cheesecloth draped around the doorframe and lightly torn at the edges creates the “haunted entry” effect. Pin it with command strips so nothing damages the frame.

    Handmade autumn wreath with orange leaves and mini pumpkins hanging on a dark front door under a porch light

    Budget store hacks: the finishing touches

    12. Hay bales and corn stalks — One small hay bale and a bundle of dried corn stalks from a farm stand or garden center anchors your whole display. Usually well under $30 combined in October.

    13. Skeleton arm planters — Dollar-store skeleton hands emerging from a planter or pumpkin look far more expensive than they are. Stick a couple into your porch plants for an instant surprise.

    14. Oversized cardboard silhouette — Cut a giant bat, witch, or haunted-tree silhouette from cardboard or black foam board and mount it on the porch wall or a window. Foam board costs a few dollars a sheet, and the scale is what makes it dramatic.

    15. Welcome sign rewrite — Paint a plain wooden “Welcome” sign with Halloween wording instead: “Enter If You Dare,” “Witch Way,” or “The [Your Name] Haunted House.” A $5 board, leftover paint, and stencils make a custom sign that looks made-to-order.

    Safety first: candles, steps, and trick-or-treaters

    Before the big night, run through this:

    • Use LED candles, not real flames. Real candles in pumpkins look authentic but get knocked over by wind, costumes, and curious kids. LED tea lights and flameless candles give the same flicker with zero fire risk — and they’re reusable year after year.
    • Keep walkways clear. Decorations creep toward the path every year. Make sure steps, railings, and the walkway itself stay unobstructed so nobody trips in a costume.
    • Skip the fog machine on steps. Fog plus stairs plus excited kids is a bad combination. Save the fog for the yard where footing is flat.
    • Check cords. String lights should be rated for outdoor use, and extension cords should run flat against the house, not across the walkway.
    • Tidy up the pumpkins after. Carved pumpkins get mushy fast; a rotten pumpkin on the porch isn’t just gross, it’s a slip hazard for mail carriers and visitors.

    Quick checklist — your porch in one afternoon

    • Swap the porch bulb for orange or purple
    • Cluster LED tea lights in mason jars along the steps
    • Set up one pumpkin pyramid or carved trio with uplighting
    • Hang a DIY wreath on the door
    • Layer a Halloween mat over a burlap rug
    • Add one hay bale + corn stalk bundle as the anchor
    • Scatter skeleton hands or mini gourds as finishing touches
    • Double-check walkways are clear and everything is LED, not flame

    Bottom line

    The porches that look expensive on October 31st aren’t the ones with the most money spent — they’re the ones with a plan. Warm lighting and repeated shapes (three pumpkins beat one) turn dollar-store supplies into a display your street remembers. Pick five of these ideas, spend an afternoon and under $100 total, and your porch will be the one kids stop in front of. Just use the LED candles. Your local fire department thanks you.

  • Small Bathroom, Big Upgrade: 10 Budget Fixes You Can Finish This Weekend

    Small Bathroom, Big Upgrade: 10 Budget Fixes You Can Finish This Weekend

    Small bathrooms punish clutter and reward details. You do not need to move a single pipe to transform one — you need ten small, deliberate upgrades, most of which take less than an hour each. Work through the list this weekend and take the before photo first. You will want it.

    1. Replace the showerhead (15 minutes)

    A modern water-saving showerhead feels more luxurious AND uses less water. Unscrew the old one, clean the threads, wrap fresh thread tape, hand-tighten the new one. Turn the water back on and check for drips.

    2. Re-caulk like a professional (1 hour)

    Grey, cracked caulk makes the cleanest bathroom look tired. Cut the old lines out, clean with mold remover, let it dry fully, and lay fresh silicone in slow, steady lines. This one change alone can look like a renovation.

    3. Swap the mirror (30 minutes)

    Trade the plain sheet mirror for a round or arched mirror with a real frame. It becomes the room’s focal point instantly. Keep the old fixings’ positions in mind and use anchors rated for the weight.

    4. Over-toilet shelving (45 minutes)

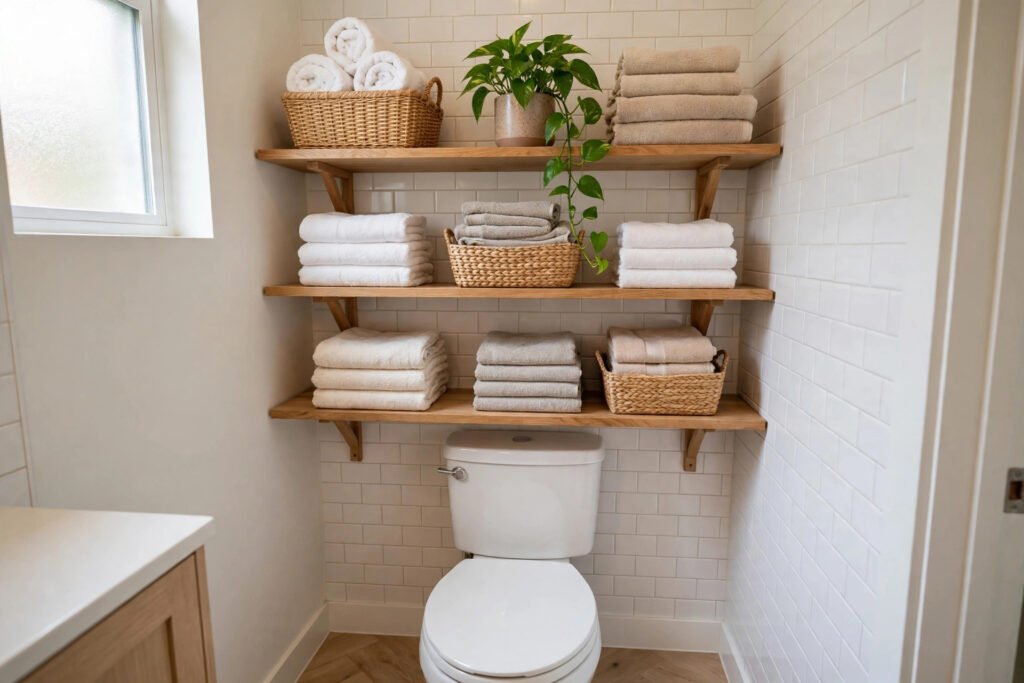
    The wall above the toilet is the most wasted space in a small bathroom. A simple over-toilet unit or two floating shelves hold towels, baskets and a plant — real storage, zero floor space.

    5. Peel-and-stick floor tiles (half a day)

    Modern vinyl peel-and-stick tiles go straight over many existing floors. Start from the center, work outward, and keep patterns aligned. Renters: choose the removable kind and keep the box for moving day.

    6. Matching accessories, finally (20 minutes)

    One matching set — soap dispenser, toothbrush holder, waste bin, towels in one color family — makes a bathroom look intentional instead of assembled by accident.

    7. Better light (30 minutes)

    Harsh white light makes everyone look tired. Warm-white LED bulbs near the mirror and, if the fitting allows, a simple modern fixture, flatter faces and photos alike. Power off at the breaker first; if wiring is involved and you are unsure, that is a job for an electrician.

    8. A plant that loves humidity (5 minutes)

    Pothos, ferns and spider plants thrive on shower steam and make the room feel like a spa instead of a cupboard. Just match the plant to your light level.

    9. Hide the chaos in baskets (20 minutes)

    Open surfaces collect bottles. Two or three woven or fabric baskets — one for daily items, one for cleaning, one for spares — and the room instantly looks calmer.

    10. Paint the vanity (half a day)

    If your vanity is sound but ugly, paint beats replacement. Clean, sand lightly, prime, and use cabinet paint in a deep color — teal, navy and forest green are forgiving and look expensive. New handles finish the job.

    Over-toilet shelving with towels, baskets and a plant in a small bathroom

    The weekend plan

    Saturday morning: showerhead, caulk, mirror, shelves. Saturday afternoon: floor tiles. Sunday: paint the vanity, then accessories, baskets and the plant. By Sunday evening it will not look like the same room — and nothing structural was touched.